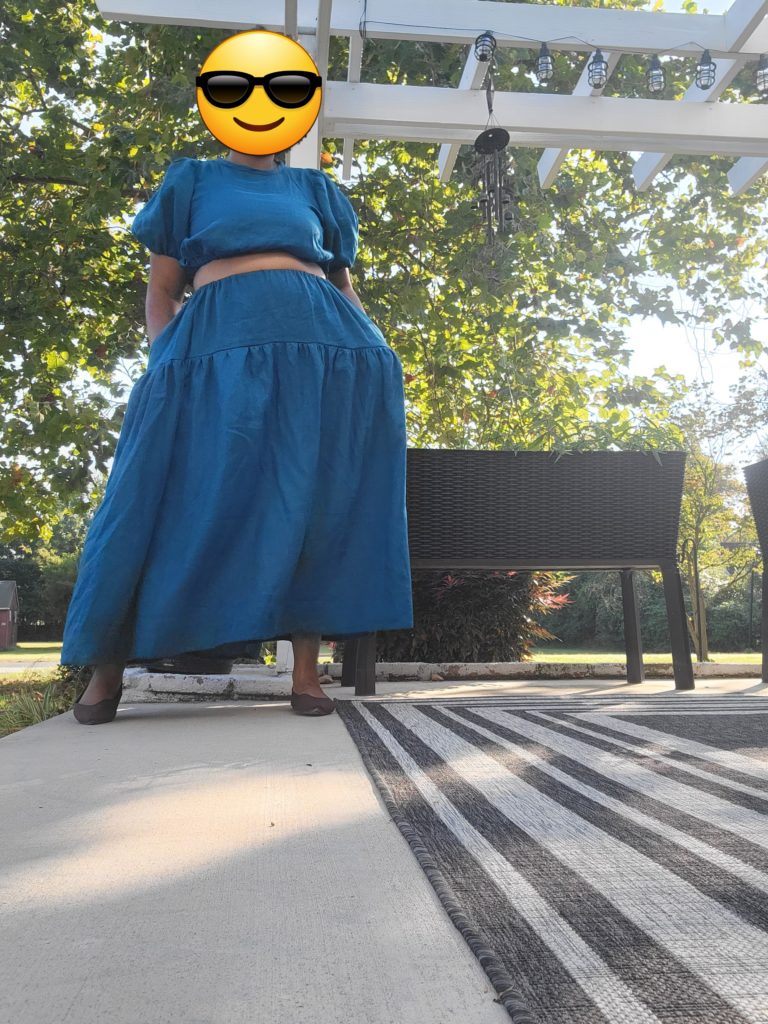
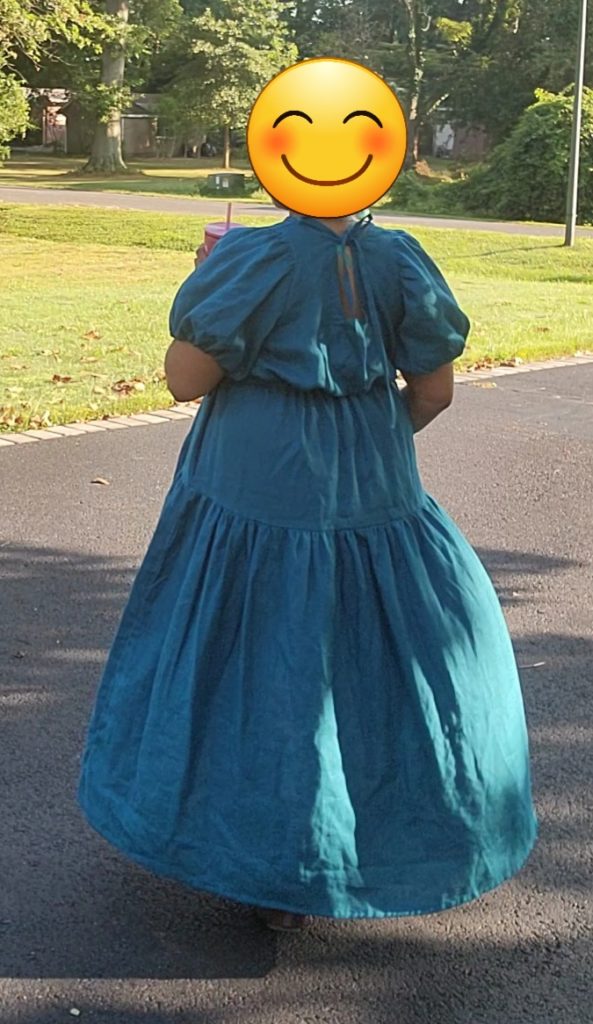
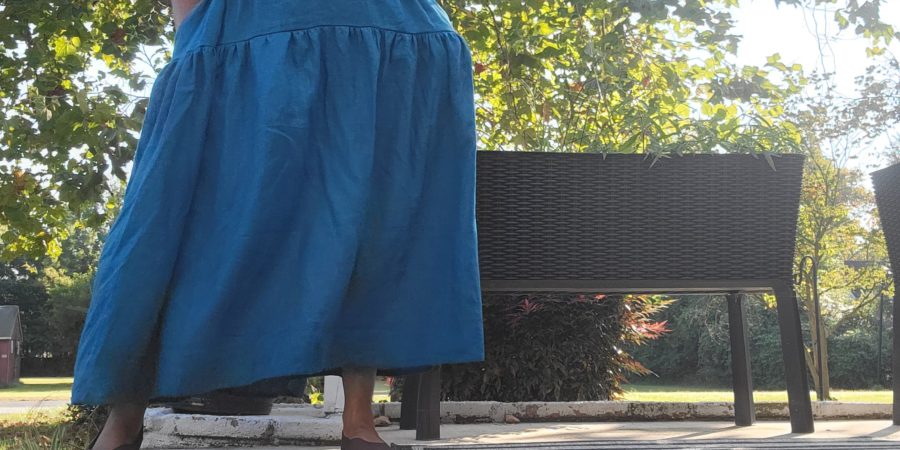
The next pattern I worked on during summer, was The Hera Sewing Pattern by Veronica Tucker the Label. The website describes the pattern as a “fully lined puff sleeves, tie neck blouse and a curved yoke, gathered skirt with pockets, both with elasticised waistbands. The Hera is a two piece set that can also transformed into an all-in-one dress and a semi attached dress.”
When I first saw this pattern, I thought it was such a romantic and soft look. It was definitely love at first sight to the point where I almost couldn’t wait until release day. I ended up purchasing it right away.
This is a relatively easy quick pattern to sew and I like the pattern overall.

Supplies
According to the website, the pattern “can be made in any variety of fabric. We always suggest a beautiful linen.” I particularly like linen myself, so I decided to go with linen for my version.
I used the Moroccan Blue medium weight linen from Fabrics-Store.com. The color isn’t quite as I expected, but that’s partially my fault because I know I should order swatches and I didn’t. Always order a swatch!
The pattern also called for 1.2cm wide elastic.

Note:
This is probably something that somebody with more experience will pick up on much quicker, but because of the weight of the linen, I think the size of the elastic wasn’t a great match. If I were to make it with this linen again, I would use larger elastic. Or maybe stiffer elastic? That could be a possibility.
Also, I would go for a lightweight linen or lightweight fabric in general. In the original sample, the designer used what looks to be a cotton gauze, and I think something with that airyness would probably fit the style best. I actually plan on making a second version in rayon.
The pattern calls for 5.8m of fabric, however it doesn’t actually need 5.8m of fabric. Once I cut my pattern, I ended up having maybe an extra meter or so of fabric left which I wasn’t thrilled about, but I figure I can make something with the extra fabric at some point.
Construction
The skirt was extremely easy to make, to the point where you almost don’t need instructions for it. The shirt was straight forward. There were instructions on how to make your own bias binding for the neck and neckties, but because the keyhole used the same method, I wish the instructions would have been reordered so the method for the bias binding was before finishing the keyhole.
I didn’t opt to add in the connector piece for the top and bottom, but I wish I had considering the weight of the fabric. I really don’t mind that the pieces move because I can just adjust accordingly.

The verdict
Once everything was said and done, I liked my finished product. The top can be worn with the keyhole facing the front, though I would only wear it like that if I shortened the keyhole length a bit. I didn’t quite like how low it was when turned to the front.
The end result was different from how the model photos looked in the shoulders, however it does match the illustration in the instruction booklet. I would love it if Veronica would do a tutorial on how to alter the pattern to make a version like hers, as I think I prefer the look of that version.
Overall, I think it was a nice simple pattern that was a good followup to the Tanita Top I made and something I will wear often.
Don’t forget to follow me HERE on Instagram, HERE on Twitter, or HEREon YouTube to stay up to date with my adventures.
